
Building Retaining Walls for Your Landscape
- pickeringboys73

- Oct 22, 2025
- 4 min read
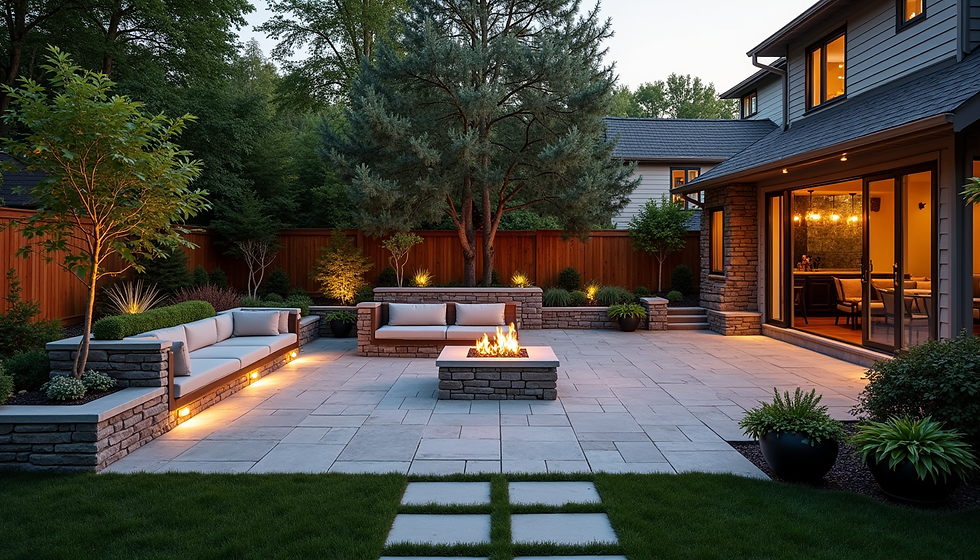
When it comes to enhancing your outdoor space, building a retaining wall is one of the smartest moves you can make. Retaining walls not only add structure and beauty to your landscape but also solve practical problems like soil erosion and uneven terrain. Whether you want to create a garden terrace, protect your property from water runoff, or simply add a stylish feature, a well-built retaining wall can transform your yard.
In this guide, I’ll walk you through everything you need to know about retaining walls. From design tips to construction basics, I’ll share practical advice that will help you plan and build a retaining wall that lasts. Let’s dive in!
Retaining Wall Design Guide: Planning Your Project
Designing a retaining wall starts with understanding your landscape and what you want to achieve. Here are some key points to consider:
Purpose: Are you building the wall to hold back soil, create a level area, or add visual interest? Knowing the purpose helps determine the height, length, and materials.
Location: Look at the slope of your land and where water naturally flows. Position your wall to manage drainage effectively.
Materials: Common options include concrete blocks, natural stone, timber, and brick. Each has its own look, cost, and durability.
Height and Length: Walls over 3 feet tall may require professional engineering and permits. Measure carefully to avoid surprises.
Drainage: Proper drainage behind the wall is crucial to prevent pressure buildup and wall failure.
Once you have a clear plan, sketch your design or use landscape software to visualize the wall. This step helps you avoid costly mistakes and ensures your wall fits your overall landscape style.

Choosing the Right Materials for Your Retaining Wall
Selecting the right materials is essential for both function and appearance. Here’s a quick overview of popular options:
Concrete Blocks: Durable and easy to stack, concrete blocks are a favorite for many homeowners. They often come with interlocking features that simplify installation.
Natural Stone: Offers a timeless, rustic look. Stone walls can be dry-stacked or mortared, but they usually require more skill to build.
Timber: Wood is affordable and easy to work with but may not last as long as stone or concrete. Pressure-treated wood resists rot and insects.
Brick: Provides a classic, formal look. Brick walls are sturdy but can be more expensive and labor-intensive.
Consider your budget, the style of your home, and the wall’s function when choosing materials. For example, if you want a low-maintenance wall that lasts decades, concrete or stone might be best. If you prefer a natural look and don’t mind some upkeep, timber could work well.
Do you put gravel or dirt behind a retaining wall?
This is a common question, and the answer is important for the wall’s stability. You should put gravel, not dirt, behind a retaining wall. Here’s why:
Gravel provides drainage: Water can flow through gravel easily, reducing pressure on the wall.
Dirt traps water: Soil holds moisture, which can build up behind the wall and cause it to fail.
Gravel reduces frost damage: In colder climates, proper drainage prevents freeze-thaw cycles from damaging the wall.
When building your wall, place a layer of gravel behind it, especially near the base. You can also install a perforated drainage pipe within the gravel to channel water away. Then, backfill the rest of the space with soil, but keep it away from the wall itself.
This simple step can extend the life of your retaining wall and keep your landscape looking great.

How to Build a Retaining Wall: Step-by-Step Basics
Building a retaining wall might seem daunting, but breaking it down into steps makes it manageable. Here’s a straightforward process:
Mark the area: Use stakes and string to outline where the wall will go.
Excavate the trench: Dig a trench deep enough for the base material and the first course of blocks or stones.
Add a base layer: Place 4-6 inches of compacted gravel or crushed stone to create a stable foundation.
Lay the first course: Set the first row of blocks or stones carefully, making sure they are level.
Build up the wall: Continue stacking, staggering joints for strength. Use adhesive or mortar if needed.
Install drainage: Place gravel and a perforated pipe behind the wall to manage water.
Backfill: Fill the space behind the wall with gravel first, then soil.
Cap the wall: Add a finishing layer of capstones or timber for a polished look.
Remember, safety is key. If your wall is tall or on a steep slope, consider consulting a professional. Proper retaining walls construction ensures your wall will stand strong for years.
For those interested in professional help, companies specializing in retaining walls construction can provide expert design and installation services.
Maintaining Your Retaining Wall for Longevity
Once your retaining wall is built, maintenance helps keep it in top shape. Here are some tips:
Inspect regularly: Look for cracks, bulges, or leaning sections.
Clear drainage: Make sure gravel and pipes are not clogged with debris.
Control vegetation: Remove weeds and roots that can damage the wall.
Repair promptly: Fix small issues before they become big problems.
A well-maintained retaining wall not only looks great but also protects your property from erosion and water damage.
Building a retaining wall is a rewarding project that adds value and beauty to your landscape. With careful planning, the right materials, and proper construction, your wall will stand strong and enhance your outdoor space for years to come. Whether you tackle the project yourself or hire professionals, understanding the basics helps you make smart decisions every step of the way.


Comments